Bordados que são verdadeiras obras de arte.


 |  | |
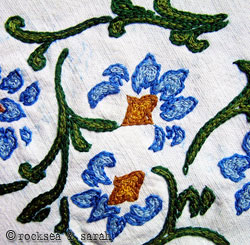
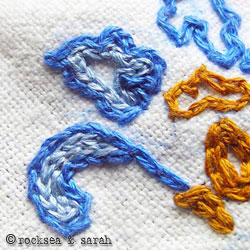
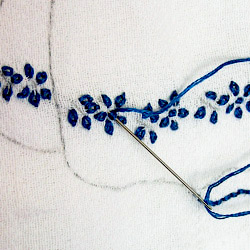
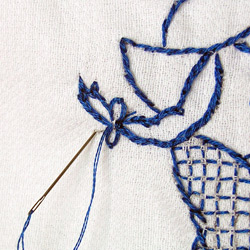
| This is the heart shape I intend to stitch. The key will help me to decode the symbols on the graph and use the stitches on the gingham cloth. Each cell on the graph represents each cell on the cloth. Unlike, in lesson 1, I try to get a bit experimental with the shades of threads I will be using here. | ||
 | Double cross stitch:I begin the pattern, the traditional way, that is, by doing the outline first. This helps me in demarking the pattern and containing all the stitches inside this parameter. I plan to do the heart in a dark shade, and so, the outline will be done in white over the dark cells. | |
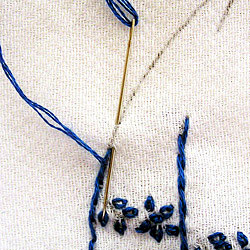
 | Running stitch:Next, I plan to do the woven circle for the filling. So, I prepare by doing running stitch horizontally, in the light colored cells. Then, I do the running stitch vertically over the rest of the tinted or light colored cells. Note that, traditionally, light colored cells are used only for straight stitches to anchor woven circles or woven ovals. | |
 | Woven circle:Between these straight stitches, I weave circles in the same dark shade of blue. This encircling of the dark cells will make it stand out giving it a lacy effect. | |
 | Double cross stitch:Though, ideally, I am supposed to finish the double cross stitches before the woven circles, I chose to use them for filling in the end. This gave me a chance to experiment using a different shade of blue as shown. | |
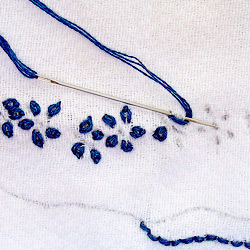
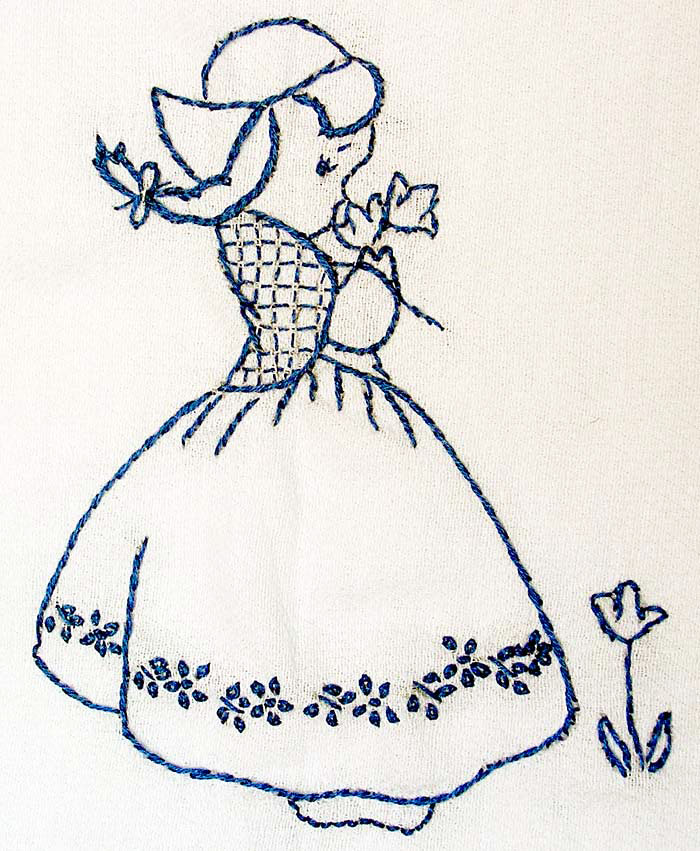
| This is a sample of how different effects can be created by using chicken scratch embroidery. |  | |
 |  | |
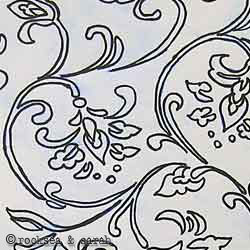
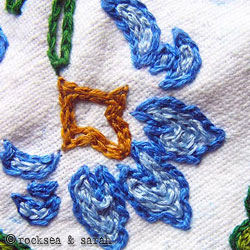
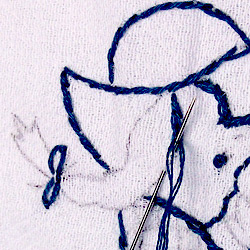
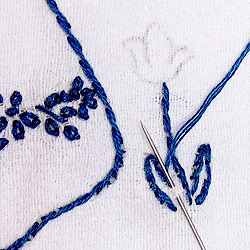
| This is a broder design. I want it to have a very lacy effect, and so, will use two strands of thinner perle cotton thread. The key will help me to decode the stitches onthe graph and use them on the gingham cloth. Each cell in the graph is like each cell on the cloth. | ||
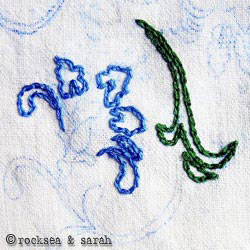
 | Cross stitch:It is always better to begin any design with the outer stitches or outlines. So, I begin the border design by doing the cross stitch. I will be doing the cross stitch over the darkest cell. | |
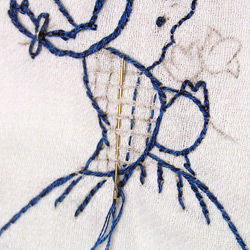
 | Double cross stitch:I begin filling up the inner part of the border with the double cross stitch. The filling is done only over the darkest cell. | |
 | Woven circle:The legs of the cross stitch provides good anchors to make a woven circle. I make two rounds of circle, each time. This gives a bolder, more embossed look. | |
 | Woven oval:I weave ovals with the diagonal stitches of the double cross stitch as the anchors I make the ovals only in the white cells. | |
 | ||
 | 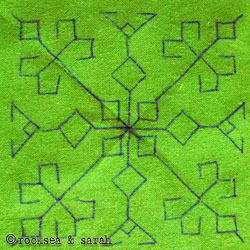 | |
| Fig 1: Trace out the pattern from the graph paper onto the fabric using a carbon tracing paper or any other tracing medium. | ||
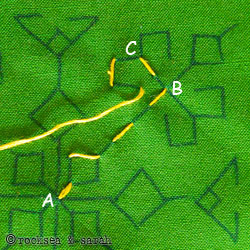 |  | |
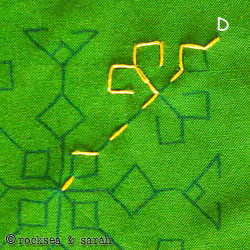
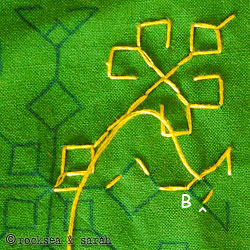
| Fig 2: In Kasuti, you always return to where you begin from. So, keep the centre of the pattern as the common point and always begin from there.
Start holbein stitch from A (centre of the pattern) and work upwards to B. From B, take a left turn. Take yet another left turn from C.
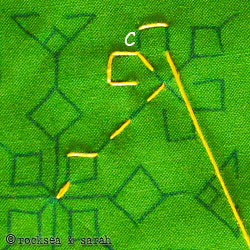
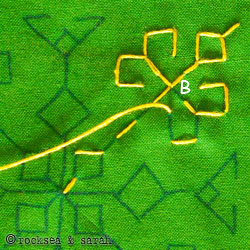
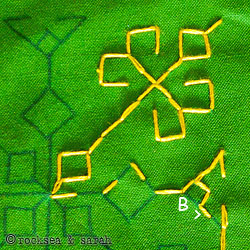
| Fig 3: Everytime you reach a point with a choice to go either left or right, the trick is to keep finishing all the lines/patterns on the left first and then move to right. This is a simple logic to keep any confusion at rest.
So, start the return journey and when you reach back at C, move to the right side.
| |
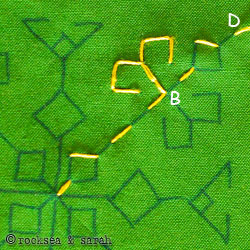 |  | |
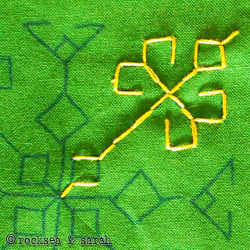
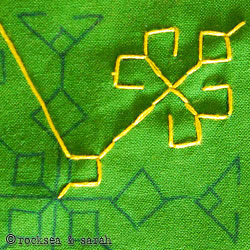
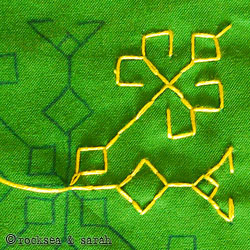
| Fig 4: Once you finish with the right side and return to the point B, continue the journey upward unitl you reach the last point, D.You will see that the patterns hanging on the left side is finished. | Fig 5: Start the return journey.Just a simple note: diamonds are seen as a split in the main line, and not as a pattern in itself. This is the reason why the diamonds are finished during the return journey. | |
 |  | |
| Fig 6: Now, we start with the right side of the pattern. Finish up with the diamond, return back downwards. From B, turn to the right. Finish the left part of the hanging pattern first before moving to finishing the right part. | Fig 7: Once you reach back to the point B, continue the return journey downwards till you reach the first diamond. | |
 |  | |
| Fig 8: Finish up with the diamond. | Fig 9: Return back to the centre, A. Now we begin the next part of the pattern. Work upward, through the point B till the very end. Keep to the left all the way. | |
 |  | |
| Fig 10: Begin your return journey and come back to B. Move to the right side of the pattern, but before going all the way up, you have to finish the little diamond shape lying in between. So, take a diversion to where the little arrow points to. | Fig 11: Take the return journey and follow the little arrow to the right and continue to finish up with the remaining pattern.
Now, instead, you can also finish the little diamond on return journey from the right side.
| |
 |  | |
| Fig 12: Continue the return journey downwards. | Fig 13: Finish up with the diamond and return to the centre. Now, continue with the next line of pattern till the entire design is done in the similar way. | |
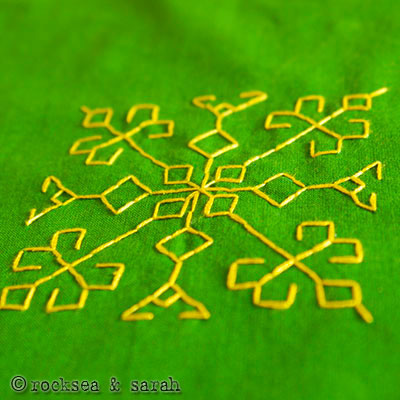 | Fig 14: The completed kasuti pattern woul | |